Hướng dẫn tạo tính năng Review với Voting System trong Drupal Commerce, có thể sử dụng cho cả content type khác trong CMS Drupal.
Image

Bước 1: Cài đặt Voting API Widgets Module
Để cài đặt chúng ta có 2 cách, dùng composer hoặc cài đặt thông thường. Xem thêm tại Voting API Widgets
Ở đây, để nhanh sẽ dùng composer, lần lượt cài đặt với các lệnh dưới
# cài đặt module
composer require 'drupal/votingapi_widgets:^1.0@alpha'

#thêm config repository cho library
composer config repositories antennaio '{"type":"package","package":{"name":"antennaio/jquery-bar-rating","version":"1.2.2","type":"drupal-library","dist":{"type":"zip","url":"https://github.com/antennaio/jquery-bar-rating/archive/v1.2.2.zip"}}}'

#download library jquery-bar-rating
composer require antennaio/jquery-bar-rating
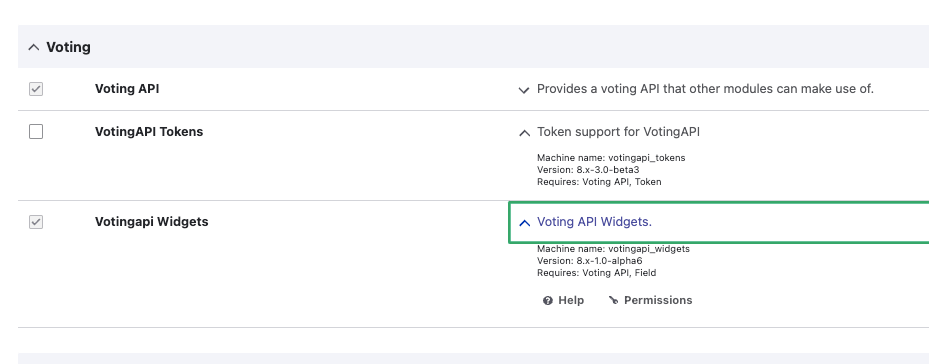
Sau đó vào admin> extend cài đặt module Voting API và Votingapi Widgets
Image

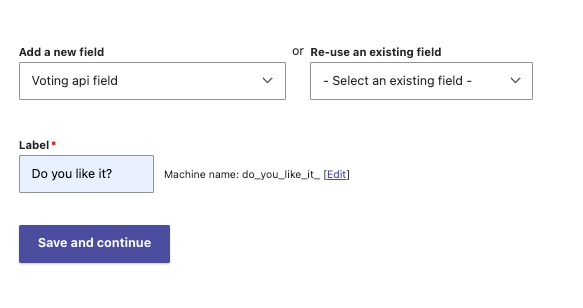
Bước 2: Tạo trường Review với type Voting api field
Image

Vào Structure > Commerce > Configuration > Product type > Manage fields > add fields
Chọn type là "Voting api"
Click "Save and continue"
Sau đó chọn tiếp "Fivestar rating" và save lại
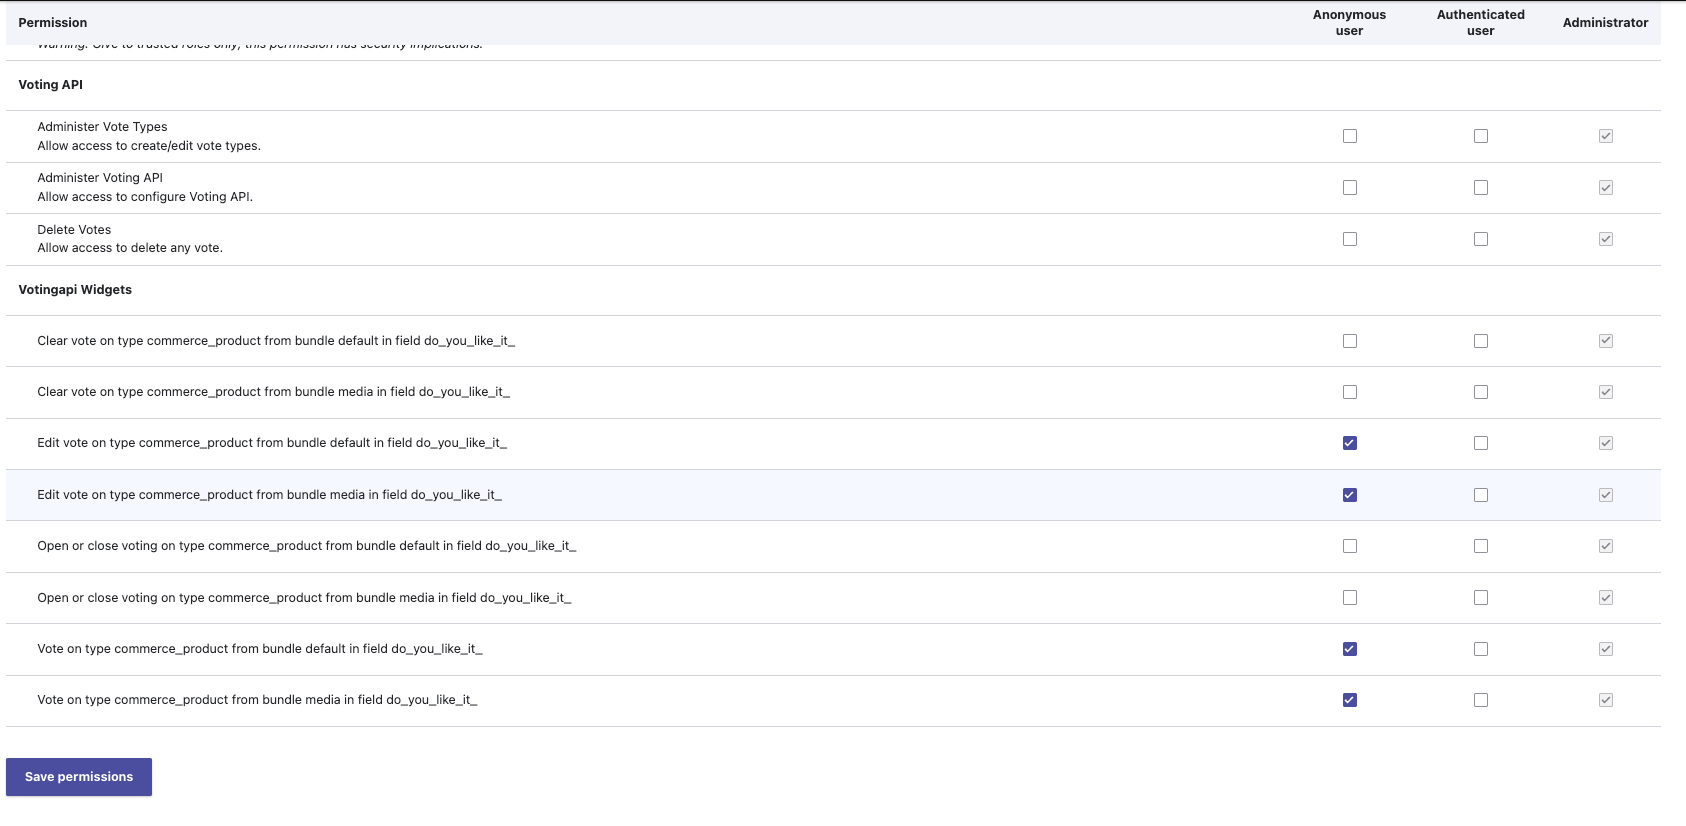
Bước 3: Cấu hình quyền cho người được vote
Vào trong People > Permissions
Kéo xuống "Voting Widgets" và phân quyền cho người dùng và Save lại
Image

Giờ bạn có thể ra ngoài và xem kết quả


