Giới thiệu Widget trong WordPress
Widget trong WordPress được ví như một block nhỏ chứa những tính năng nhỏ mà block này có thể kéo thả ở sidebar
Bạn có thể xem các widget trong phần "Giao Diện" -> "Widget"
Để tạo một custom widget, ta xem qua các bước sau
Bước 1 - Khởi tạo một Widget
add_action( 'widgets_init', 'devpd_create_custom_widget' );
function devpd_create_custom_widget() {
    register_widget('Class_Custom_Widget');
}
Ta dùng acction 'widgets_init' để khai báo một widget với Class name là "Class_Custom_Widget"
Bước 2 - Khai báo class Widget
class Class_Custom_Widget extends WP_Widget {
   /**
    * Widget id - unique
    */
    const ID_BASE = 'id-custom-widget';
   /**
     * Register widget with WordPress.
     */
    function __construct() {
        $classname   = 'class-element-custom-widget';
        $widget_ops  = array(
            'classname'   => $classname,
            'description' => 'Description custom widget',
        );
        parent::__construct( self::ID_BASE,'Name Custom Widget', $widget_ops );
    }

    /**
     * Back-end form setting widget - Form để setting trong trang quản trị
     */
    function form( $instance ) {

    }

    /**
     * save widget form setting - xử lý lưu trử form setting của widget
     */

    function update( $new_instance, $old_instance ) {

    }

    /**
     * Front-end display of widget. - Hiển thị ở giao diện người dùng
     */

    function widget( $args, $instance ) {

    }
}
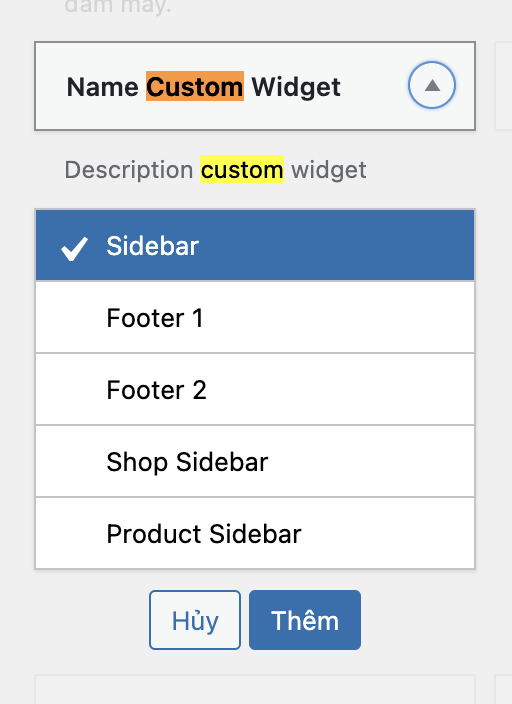
Trên là cách khởi tạo một widget với các ghi chú đơn giản cho bạn hiểu, giờ bạn có thể thấy được một widget như hình dưới đây
Image

Bước 3 - Tạo form setting và xử lý Backend cho Widget
3.1. Thêm Form setting
Cập nhập code cho function form setting như sau,
	/**
	 * Back-end form setting widget - Form để setting trong trang quản trị
	 */
	function form( $instance ) {
        $title = ! empty( $instance['title'] ) ? $instance['title'] : '';
        $text = ! empty( $instance['text'] ) ? $instance['text'] : '';
        ?>
        <p>
            <label for="<?php echo esc_attr( $this->get_field_id( 'title' ) ); ?>"><?php _e( esc_attr( 'Title:' ) ); ?></label>
            <input class="widefat" id="<?php echo esc_attr( $this->get_field_id( 'title' ) ); ?>"
            name="<?php echo esc_attr( $this->get_field_name( 'title' ) ); ?>" type="text"
            value="<?php echo esc_attr( $title ); ?>">
        </p>
        <p>
            <label for="<?php echo esc_attr( $this->get_field_id( 'text' ) ); ?>"><?php _e( esc_attr( 'Text:' ) ); ?></label>
            <textarea id="<?php echo esc_attr( $this->get_field_id( 'text' ) ); ?>"
            name="<?php echo esc_attr( $this->get_field_name( 'text' ) ); ?>" rows="3" cols="35"
            ><?php echo esc_attr( $text ); ?></textarea>
        </p>
        <?php

	}
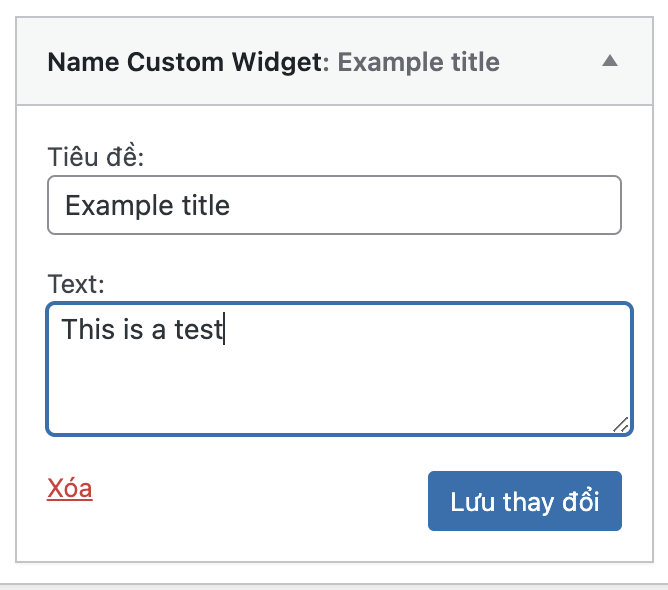
Giờ bạn có 2 trường title và text
3.2. Save Form setting
    /**
     * save widget form setting - xử lý lưu trử form setting của widget
     */
    function update( $new_instance, $old_instance ) {
       $instance = array();
       $instance['title'] = ( ! empty( $new_instance['title'] ) ) ? strip_tags( $new_instance['title'] ) : '';
       $instance['text'] = ( ! empty( $new_instance['text'] ) ) ? ( $new_instance['text'] ) : '';
       return $instance;
    }
Và trên là function để save dữ liệu
Image

Bước 4 - Hiển thị Widget
Cuối cùng thêm đoạn show dữ liệu widget đã tạo
    /**
     * Front-end display of widget. - Hiển thị ở giao diện người dùng
     */
    function widget( $args, $instance ) {
        ?>
         <br />
         <div class="widget-area">
           <aside class="widget widget_layered_nav ">

           <h3 class="custom-widget-title"><?php echo $instance['title']; ?> </h3>
            <p>
               <?php echo $instance['text']; ?>
           </p>
           </aside>
         </div>
        <br />

        <?php
    }
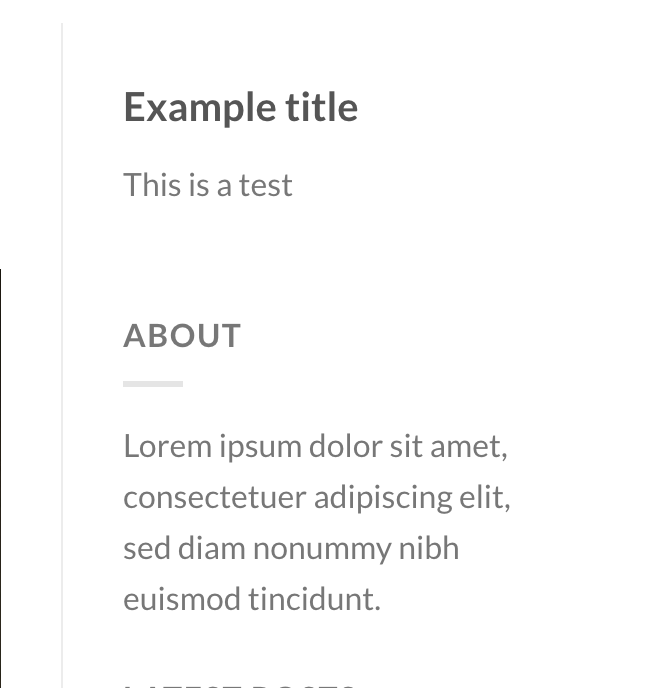
Kết quả
Image

Xong, đây là toàn bộ snippet code tạo widget WordPress.


